Keep an Eye on Your Internet: How to Self-Host Speedtest Tracker

Do you ever feel like your internet isn’t as fast as it should be?
Maybe your video calls lag, or YouTube buffers even though you're paying for high-speed internet. Wouldn’t it be great if you could automatically test your internet and see when it’s slow?
Well, you can! And you don’t need to be a tech expert to do it.
Let me introduce you to Speedtest Tracker — a simple tool you can host yourself to automatically check and track your internet speed.
What Is Speedtest Tracker?
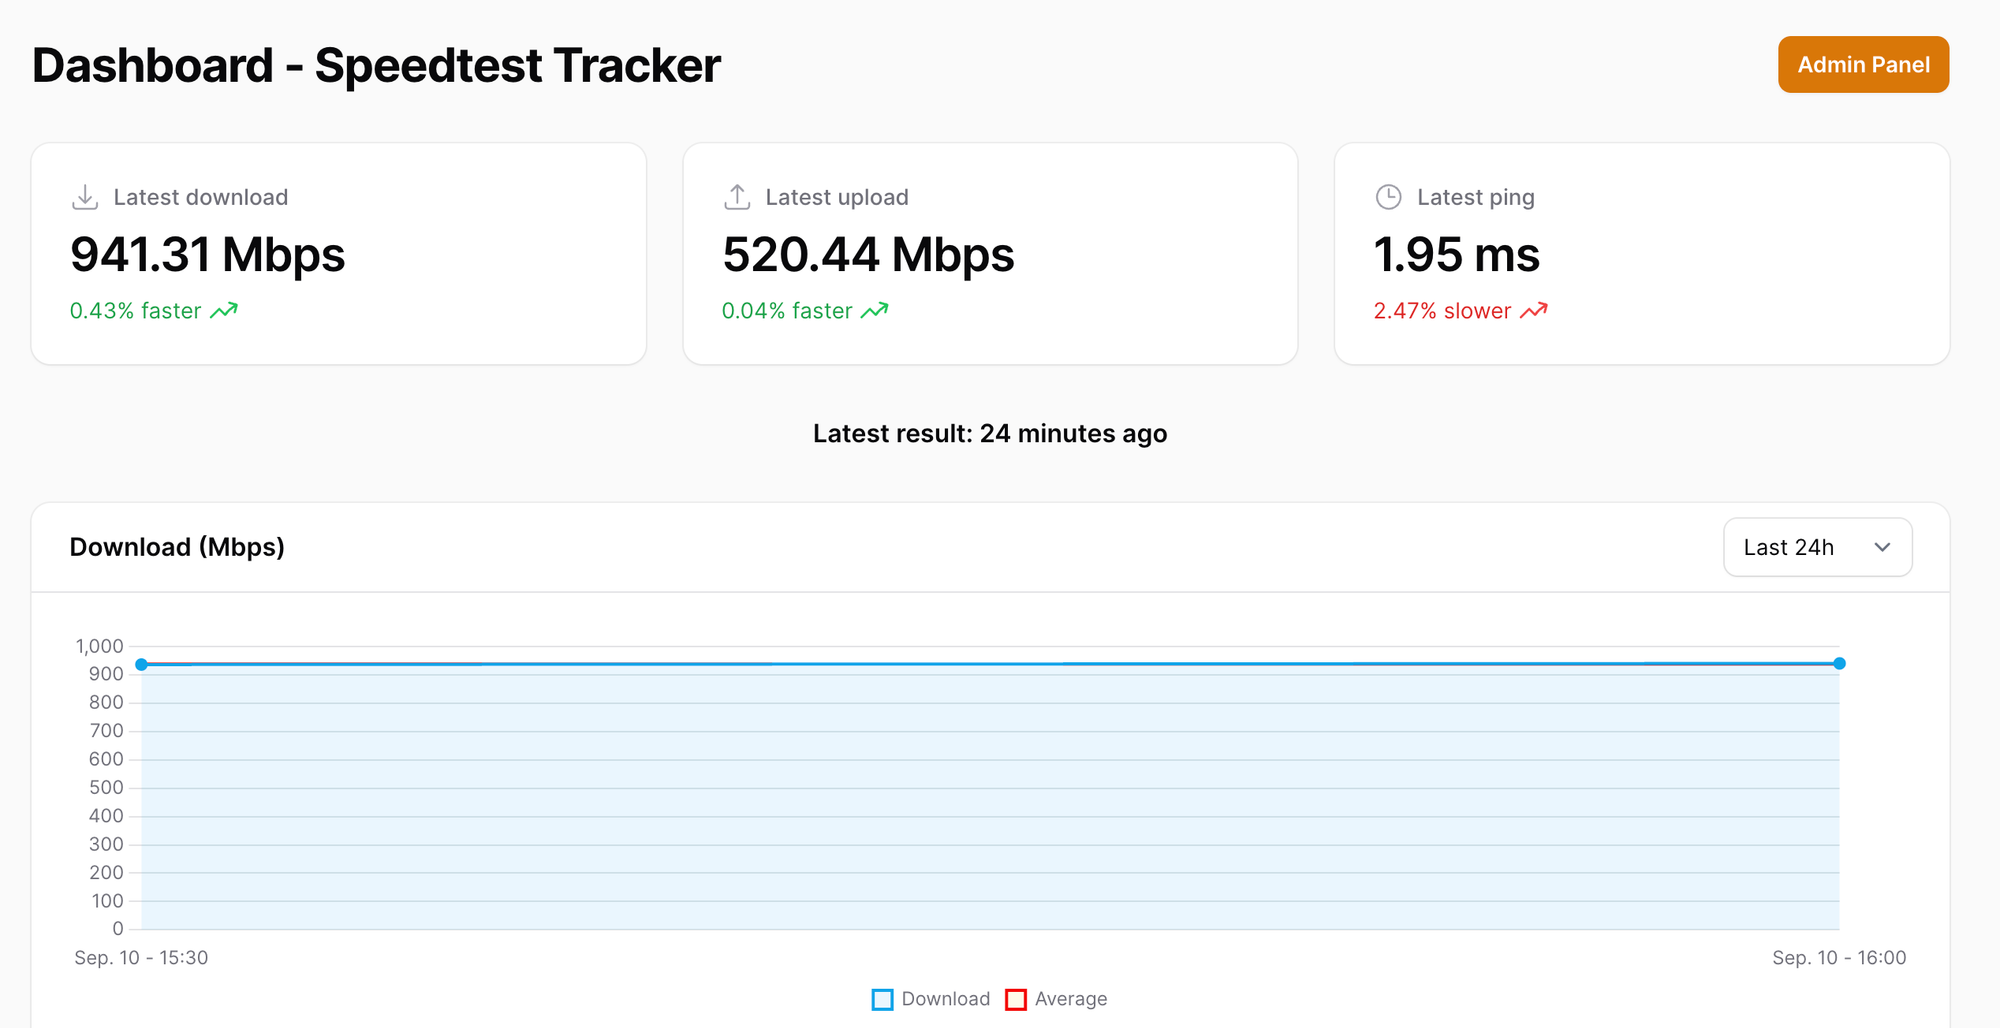
Speedtest Tracker is a self-hosted app that runs internet speed tests on a schedule and shows the results in an easy-to-read dashboard.
It uses the same speed testing tool that powers speedtest.net, but it saves your results over time. That way, you can spot patterns—like if your internet slows down every evening or if your ISP (Internet Service Provider) isn’t giving you what you paid for.
Why Should You Host It Yourself?
There are a few great reasons:
- You stay in control. Your speed data is stored only on your computer, not sent to some company.
- It runs automatically. You can set it to test every hour (or whatever you want) and forget about it.
- You get proof. If your internet is slow, you’ll have actual data to show your ISP.
And the best part? You don’t need fancy hardware. You can run Speedtest Tracker on a small home server, a Raspberry Pi, or even an old laptop.
Easy Setup with Docker (Don’t Worry, It’s Not Scary)
Speedtest Tracker works best when installed using Docker, a tool that makes running apps really easy. Think of Docker as a box that holds the app and everything it needs to run—so you don’t have to worry about complicated setups.
Here’s a simple version of the Docker Compose file (kind of like a recipe) you can use:
version: '3'
services:
  speedtest-tracker:
    image: lscr.io/linuxserver/speedtest-tracker:latest
    container_name: speedtest-tracker
    ports:
      - "8080:80"
    volumes:
      - ./data:/config
    environment:
      - PUID=1000
      - PGID=1000
      - SPEEDTEST_SCHEDULE=*/60 * * * *  # Run every hour
    restart: unless-stopped
Steps:
- Install Docker and Docker Compose on your system.
- Copy the code above into a file named
docker-compose.yml. - In your terminal, run:
docker compose up -d
That’s it! You’ll now have a working dashboard that tests your internet speed automatically.
What You Can See and Do
Once it’s running, Speedtest Tracker will show:
- Download Speed – how fast you can get data from the internet.
- Upload Speed – how fast you can send data.
- Ping – how responsive your connection is.
You’ll see graphs, daily averages, and even trends over time.
There’s also a settings page where you can:
- Change how often it tests your internet.
- Add alerts to notify you if your speed drops.
- Connect it with services like Discord, Slack, or email for updates.
Final Thoughts
If you’re just getting started with self-hosting, Speedtest Tracker is a great first project. It’s easy to set up, useful, and helps you learn how Docker works in a real way.
Plus, it gives you real proof when your internet provider isn’t giving you what you paid for.
Whether you're running a small homelab, curious about tech, or just tired of guessing your internet speed—Speedtest Tracker is a fun and simple way to take control.